
How to Master PCB Reflow Soldering at Home Using a Hot Plate and Stencil
8 min
- What is Reflow Soldering?
- Why the Hot Plate Method is a Game-Changer for DIYers?
- The Secret to Success: Why You Need a High-Precision Stencil?
- Step-by-Step Guide: Reflow Soldering at Home Using a Hot Plate and Stencil
- Why JLCPCB is the Best Choice for DIY PCB Stencils?
- Conclusion:
- What is the reflow soldering process for home PCBs?
- Can a reflow hot plate replace a reflow oven for SMT soldering?
- How does stencil thickness affect solder paste deposition?
- What types of soldering defects can occur in DIY reflow soldering at home?
- Why is a high-precision solder paste stencil important for fine-pitch components?
- How does a PCB stencil improve DIY reflow soldering results?
- What is the difference between soldering and reflow soldering?
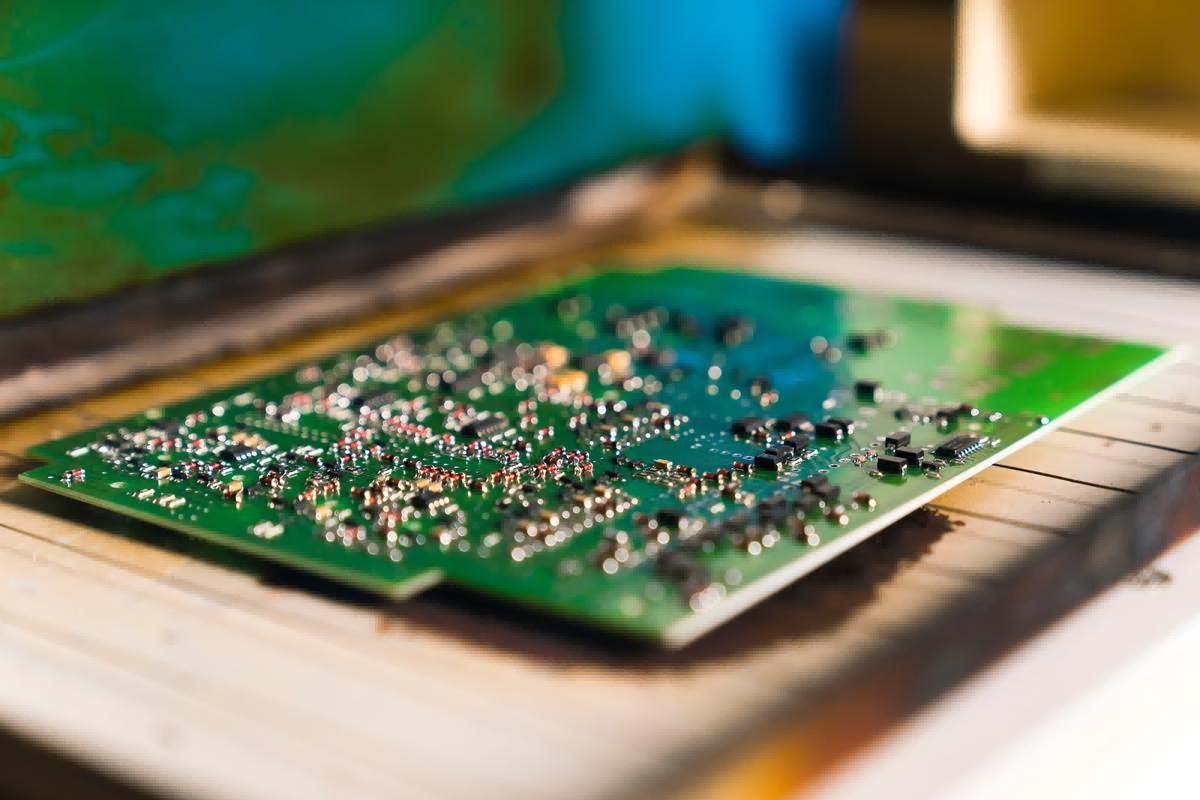
Soldering small SMD components like 0402s, QFNs, or BGAs with a standard iron produces inconsistent joints and defects. Reflow soldering at home using a hot plate offers a controlled, repeatable method for melting solder paste across multiple pads simultaneously. Engineers and hobbyists achieve uniform joints and reduced bridging with proper temperature control.
High-precision PCB stencils guide solder paste placement, ensuring each pad receives the exact volume for fine-pitch and high-density layouts. Combining a reflow plate with a circuit board stencil allows DIYers to replicate professional SMT assembly results without industrial ovens, improving joint reliability and assembly consistency for home electronics projects.
What is Reflow Soldering?
Reflow soldering is a widely used automated method for attaching surface-mount technology (SMT) components to printed circuit boards. The process begins by applying solder paste, a mixture of flux and solder particles, to the PCB pads using a solder paste stencil. Components are then accurately placed on the paste, and the entire assembly is heated, causing the solder to melt, flow, and solidify into reliable joints upon cooling. Unlike manual soldering, reflow handles hundreds of connections simultaneously, providing consistent results across complex assemblies.
The reflow soldering process follows four key stages. Preheating prevents thermal shock, soaking activates the flux and ensures uniform temperature, reflow melts the solder, and cooling solidifies the joints. The assembly moves through a reflow oven with multiple independently controlled temperature zones. This process suits high-volume PCB assembly, delivering speed, precision, and repeatable surface mount soldering quality.
Why the Hot Plate Method is a Game-Changer for DIYers?
The hot plate method provides DIYers and hobbyists with an affordable and effective way to perform reflow soldering at home. It replaces the delicate process of hand-soldering each SMT pad with a single heating cycle that melts solder paste and forms reliable joints across the entire board. Heat alone is not enough; precise paste volume is necessary, which is where a high-quality PCB stencil ensures correct deposition for all pads.
Key advantages of using a hot plate for DIY reflow soldering include:
● High-Precision SMD Assembly on a Budget: DIY hot plates, including electric single burners, PTC heating plates, or modified small stovetops, allow precise soldering of fine-pitch 0402 components, QFNs, and small ICs. The molten solder creates surface tension that self-aligns components to their pads, producing cleaner and more reliable joints than hand-soldering, especially on dense layouts with 0.5mm or smaller pitch.
● Efficiency and Speed: Entire boards reflow in a single cycle, typically under five minutes, dramatically reducing assembly time. This method eliminates cold joints caused by uneven heating or rushed hand-soldering and ensures that all components are soldered simultaneously with minimal rework.
● Superior Control and Quality: Bottom-side heating provides uniform temperature distribution, while PID controllers or thermocouple-regulated plates maintain safe reflow profiles, preventing PCB warping or thermal damage to sensitive components. Real-time visual monitoring allows users to nudge misaligned components and confirm solder flow.
● Versatility Beyond Electronics: Compact hot plates fit home workshops and maker spaces easily. They also serve for desoldering, curing epoxy, or performing low-heat tasks that require precise temperature management, extending their use beyond simple soldering projects.
These advantages make the hot plate method a practical, low-cost entry point for mastering home reflow soldering with professional-quality results.
The Secret to Success: Why You Need a High-Precision Stencil?
Manual solder paste application with a syringe introduces high variability in paste volume and placement. Uneven deposits increase the risk of solder bridging, tombstoning, and voids beneath BGAs, especially on fine-pitch components. Inconsistent paste placement also causes defects that are difficult to correct after reflow, resulting in wasted boards or time-consuming rework.
The challenges intensify as component sizes shrink and pad density increases. Tiny 01005 passives or QFNs with 0.4mm pitch demand precise paste control, which is nearly impossible to achieve reliably by hand. Even small deviations in paste volume lead to poor wetting, misalignment, or open joints, impacting the overall yield and reliability of the PCB assembly.
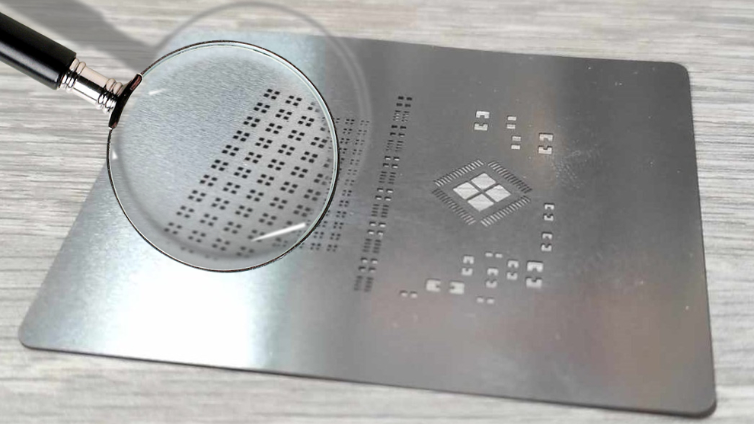
The solution lies in a high-precision SMT stencil. Laser-cut stencils from JLCPCB provide a perfect "mask", delivering the exact solder paste volume to each pad. This precision reduces bridging, improves joint consistency, and ensures professional-quality soldering even in DIY or batch SMT assembly.
Step-by-Step Guide: Reflow Soldering at Home Using a Hot Plate and Stencil
Performing reflow soldering at home with a hot plate requires careful preparation and adherence to process steps. The method replicates industrial reflow techniques on a smaller scale while using a high-precision solder paste stencil to achieve professional-quality results.
Step 1: Paste Printing
Place the PCB under a JLCPCB SMT stencil and spread solder paste evenly using a squeegee. The stencil ensures precise deposition, controlling paste volume and reducing defects such as solder bridging or insufficient solder. Proper alignment between the stencil and PCB pads is essential for fine-pitch components.
Step 2: Component Placement
Position surface-mount components onto the pasted pads using tweezers or a small vacuum pick-up tool. The tackiness of the solder paste holds components in place. Ensure leads or contacts align perfectly with the pads to prevent tombstoning and open circuits during reflow.
Step 3: The Heat Cycle
Place the board on the preheated hot plate. Gradually raise the temperature through the soak phase to activate flux and equalize the PCB temperature. Raise the temperature above the solder melting point for the reflow phase, allowing solder joints to form. Cool the board slowly to solidify the joints without introducing thermal stress. Maintain visual observation to confirm uniform solder melting.
This DIY approach, combined with a precision stencil from JLCPCB, delivers professional-grade SMT results for your prototypes or batches, especially with the $11 coupon offer.
Why JLCPCB is the Best Choice for DIY PCB Stencils?
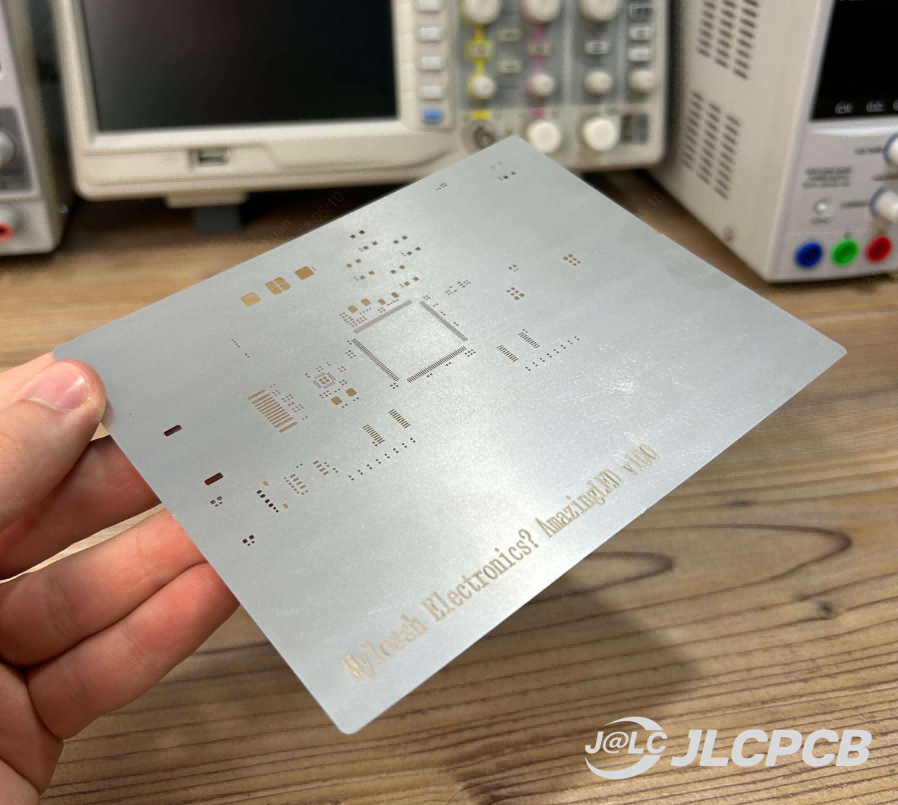
JLCPCB provides DIY-friendly stencils that simplify at-home reflow soldering. Non-framework stencils reduce shipping costs and occupy minimal storage space, making them ideal for hobbyists and small workshops.
Seamless integration with JLCPCB PCB orders allows adding a matching stencil with one click, ensuring perfect alignment between the solder paste stencil and PCB pads. This guarantees accurate paste deposition for fine-pitch components.
Professional laser-cut quality comes at an affordable price, starting at $3 USD. With instant quoting for Gerber or DXF files, fast global shipping, and no minimum order, precise DIY SMT assembly is now highly accessible. Click to claim your $11 JLCPCB stencil coupon and start your next project today!
Conclusion:
Combining a hot plate with a high-precision JLCPCB stencil removes the barrier to working with advanced SMD components. DIYers achieve professional solder joints without industrial equipment.
Accurate paste deposition, reliable self-alignment, and consistent thermal cycles produce high-quality results for fine-pitch and dense PCBs. Home enthusiasts no longer struggle with hand-soldering small components. Using JLCPCB stencils enables repeatable, defect-free reflow soldering, allowing any hobbyist or engineer to assemble complex boards efficiently and confidently.
Frequently Asked Questions (FAQs):
What is the reflow soldering process for home PCBs?
Reflow soldering at home involves applying solder paste to PCB pads, placing components, and heating the board until the paste melts and forms solid solder joints. Using a hot plate allows hobbyists to achieve uniform heating and reliable connections without industrial ovens.
Can a reflow hot plate replace a reflow oven for SMT soldering?
Yes, a reflow hot plate provides controlled bottom-side heating that simulates a reflow oven. While it lacks multiple temperature zones, it offers sufficient precision for small boards, prototypes, and DIY SMT assembly.
How does stencil thickness affect solder paste deposition?
Stencil thickness determines the volume of solder paste transferred to each pad. Thicker stencils deposit more paste for larger pads, while thinner stencils limit paste on fine-pitch pads to prevent bridging or excess solder.
What types of soldering defects can occur in DIY reflow soldering at home?
Common defects include solder bridging, tombstoning, insufficient solder, voids, and misaligned components. Proper stencil use, paste control, and controlled heat profiles reduce these defects.
Why is a high-precision solder paste stencil important for fine-pitch components?
High-precision stencils ensure exact paste volume for each pad, reducing bridging, voids, and insufficient joints. They increase yield, reliability, and repeatability in DIY SMT reflow soldering.
How does a PCB stencil improve DIY reflow soldering results?
A PCB stencil, such as a high-precision SMT stencil, deposits solder paste accurately on each pad according to the PCB layout. It prevents common defects like solder bridging, tombstoning, or voids, and ensures consistent paste volume across all pads. This precision improves joint reliability, reduces the need for rework, and allows fine-pitch components like 0402s, QFNs, and BGAs to be soldered effectively, even in a home setup using a hot plate or DIY reflow method.
What is the difference between soldering and reflow soldering?
Traditional soldering uses a soldering iron to join components one at a time. Reflow soldering applies solder paste to all pads, places components, and heats the entire board at once. This method forms reliable joints for hundreds of surface-mount components, improves consistency, reduces manual errors, and allows precise assembly of fine-pitch ICs and dense SMT layouts.
Keep Learning
Manual Pick and Place: A Cost-Effective SMT Alternative
Key Takeaways for Manual Pick and Place Manual pick and place uses a hand-held vacuum wand and positioning stage to place SMD components by hand, replacing tweezers in prototype assembly. It is most cost-effective for production runs of 1 to 50 boards, where an automated SMT pick-and-place machine cannot justify its $10,000+ setup cost. A complete manual workstation runs $300 to $500, compared with $10,000+ for an entry-level automated pick and place machine. SMT stencil quality is the single largest ......
Hot Air Surface Mount Soldering: A Step-by-Step Guide
Key Takeaways Heat Control Is Everything: Hot air SMD soldering delivers uniform heat across all pads simultaneously, eliminating the lifted pads and cold joints common with iron-based soldering of fine-pitch components. Airflow Kills Small Parts: Set airflow to just 10–20% for 0402/0201 passives to avoid the Bernoulli Effect that turns tiny resistors into projectiles. Stencil Precision Prevents Tombstoning: A precision-cut SMT stencil deposits equal paste volume on both pads, balancing surface tensio......
Solder Paste Printing Defects: How Precision Stencils Prevent Assembly Failures
Key Takeaways 70% Rule: Approximately 70% of SMT defects originate from the solder paste printing stage, making it the most critical process to optimize. Root Causes: Defects like bridging, insufficient paste, misalignment, and slumping are caused by stencil tension, process parameters (pressure, speed), and paste chemistry/environment. Area Ratio Matters: Maintaining an aperture Area Ratio (AR) above 0.66 (per IPC-7525) is essential to ensure proper paste transfer efficiency and prevent chronic insuf......
Best Manual Pick and Place Tools for Precise PCB Assembly
While fully automated robotic SMT lines handle mass production efficiently, every hardware innovation begins on a workbench. Engineers shifting from soldering large through-hole components to microscopic surface-mount devices (SMD) by hand quickly realize that precision and control are everything. Achieving factory-level assembly on your desk is absolutely possible with the right setup. This guide reviews the essential tool categories needed to build an effective prototyping workbench, covering precis......
How to Use a BGA Stencil for SMT Assembly and Reballing (Design & Process Guide)
Anyone who's spent time in a lab knows the look. You flip over a BGA chip and stare at the bottom. Flat. Featureless. No legs. No leads. Just a grid of tiny silver bumps. First thought? How the hell am I supposed to solder this? The Ball Grid Array (BGA) package is a trade-off. You get insane I/O density in a tiny footprint. But every single connection is hidden. You can't see them, and you can't poke them with an iron. Here's the thing I learned after lifting more pads than I'd like to admit: learnin......
Solder Bead Prevention: How PCB Stencil Design & Process Control Deliver Defect-Free Reflow Soldering
In modern SMT assembly, solder joint quality is determined long before the reflow oven starts—at the solder paste printing stage. When this step is not properly controlled, the consequences appear after reflow as tiny spherical solder particles scattered around component pads: solder beads. For engineers working with high-density assemblies, these defects are familiar and frustrating because they reappear whenever a process variable drifts outside its optimum range. This guide takes an engineering-fir......