How to Export BOM and Pick & Place (CPL) Files from EasyEDA Standard and Pro
Last updated on Jun 15, 2026
How to Export BOM Files
BOM lists components in PCB design. Required for PCB assembly orders.
EasyEDA Standard
1. Open the project in EasyEDA Standard.
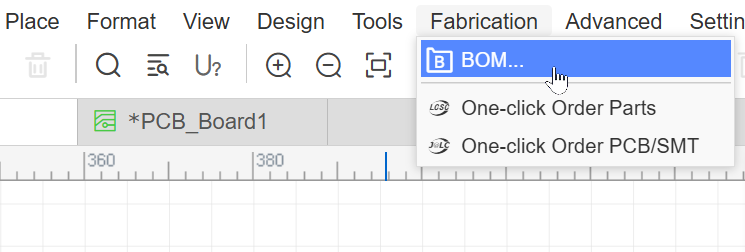
2. File → Export BOM or Fabrication → BOM.
3. Review component list.
4. Click Export BOM.
5. Properties tab will pop up. Select BOM properties and click Export.

EasyEDA Pro
1. Open project in EasyEDA Pro.
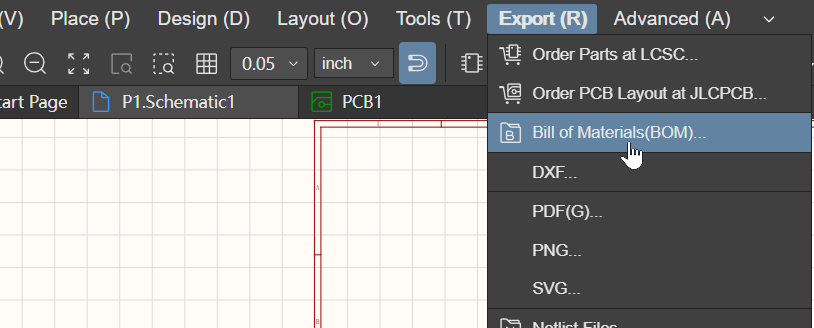
2. File → Export → Bill of Materials BOM or Export → Bill of Materials BOM.
3. Device Standardization notice appears (optional)
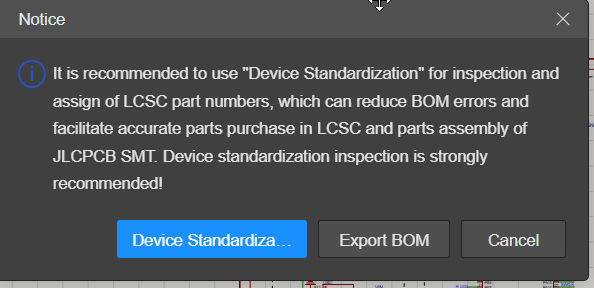
4. Click Export BOM
5. Select scope (PCB or Schematic) in the “Range” option.
6. Choose file type (CSV or XLSX).
7. Configure exported properties if required.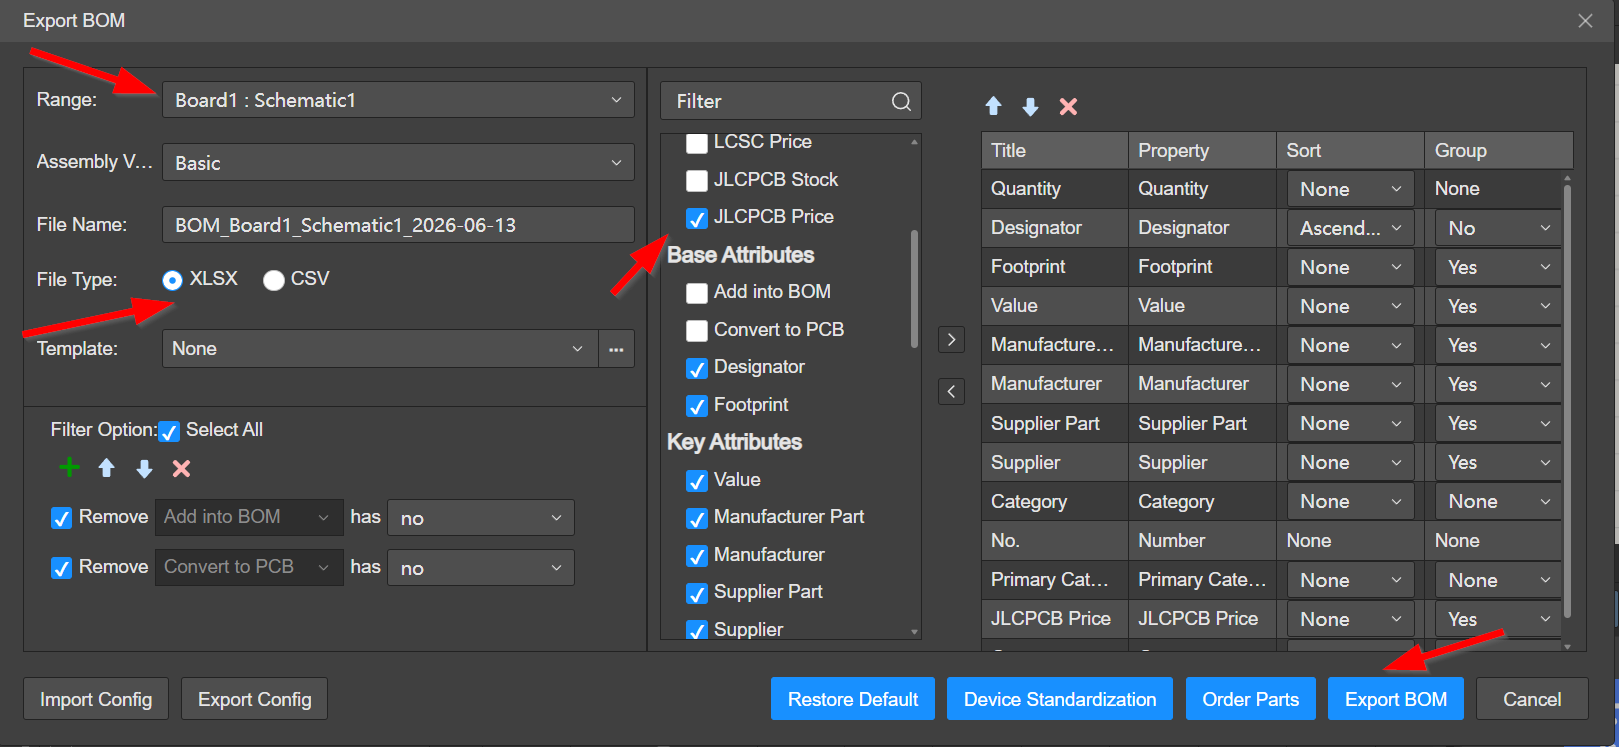
8. Click Export BOM to export.
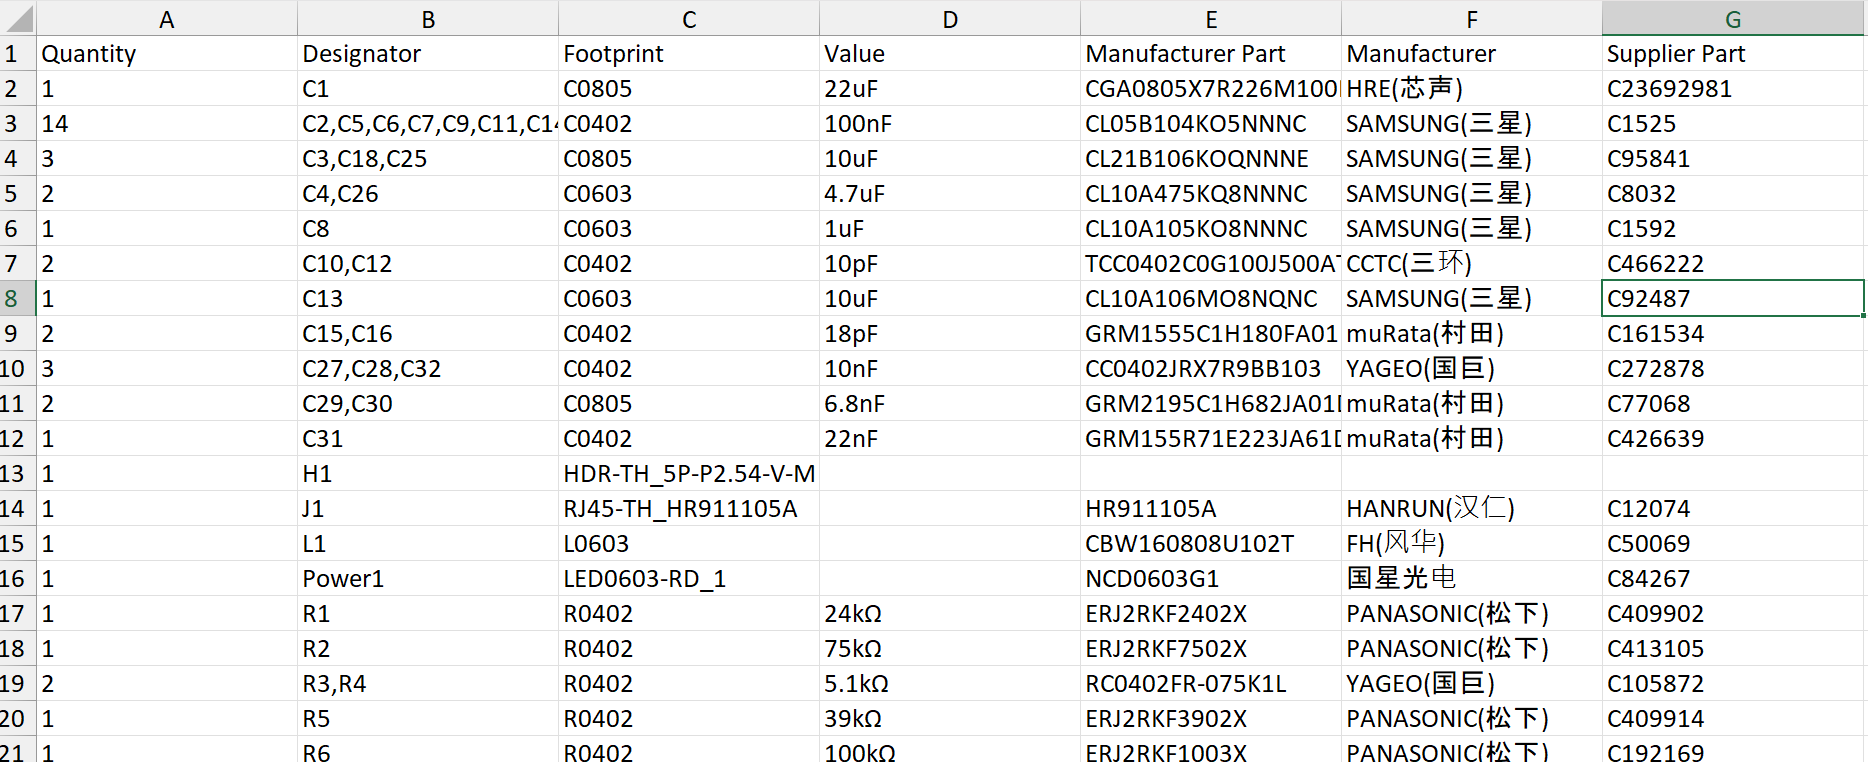
Now you can open the BOM in any text editor or spreadsheet.
Tip
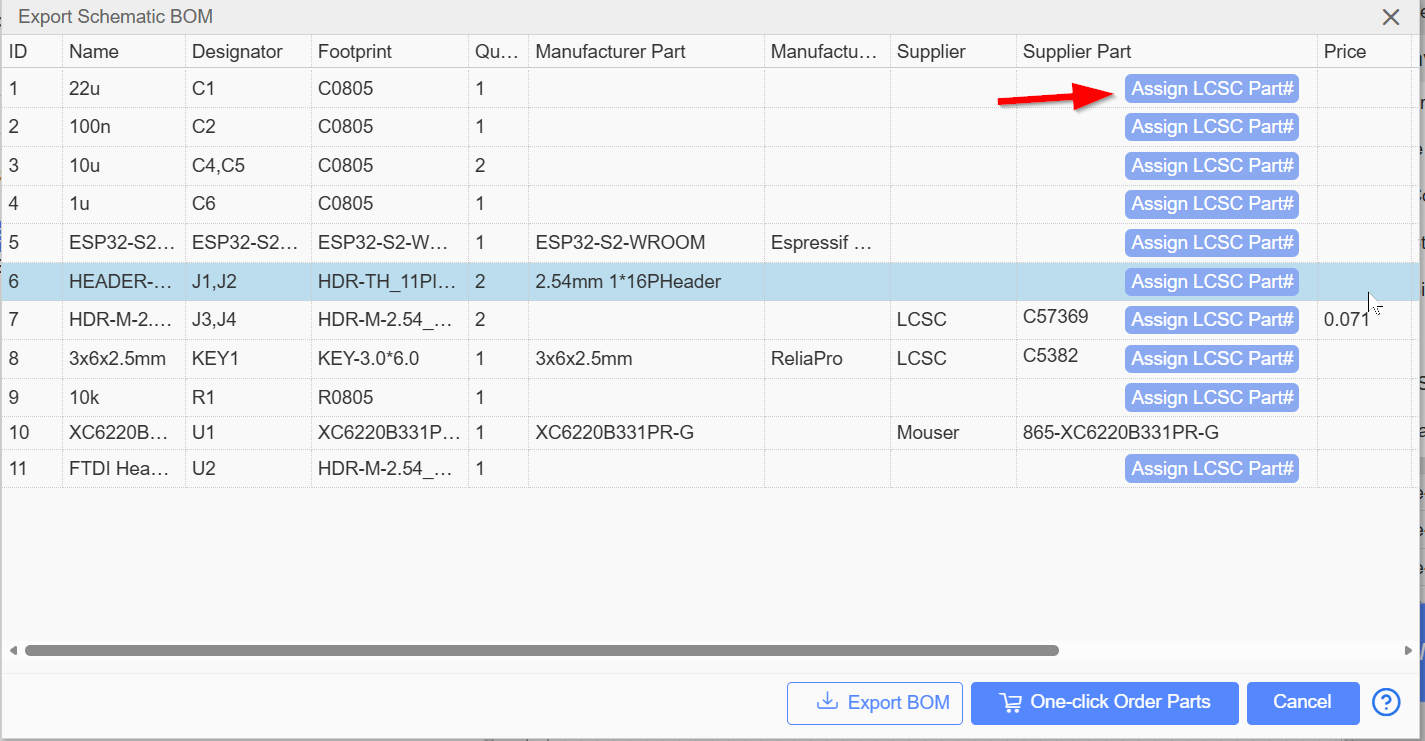
For JLCPCB SMT assembly, assign LCSC/ JLCPCB part numbers before exporting the BOM to auto-match components during ordering.
How to Export Pick and Place (CPL) Files
Pick and Place (P&P) / coordinate file gives component positions for SMT assembly. Required alongside BOM for assembly orders. Export from PCB editor only.
EasyEDA Standard
1. Open PCB in editor.
2. File → Export Pick and Place File or Fabrication → Pick and Place File.
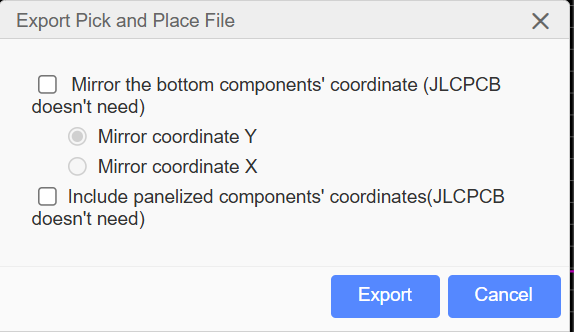
3. Set options. If PCB panelized, enable Include panelized components coordinate(JLCPCB doesn’t need).
4. Export → opens as CSV.
EasyEDA Pro
1. Open PCB in editor (coordinate file exports from PCB only).
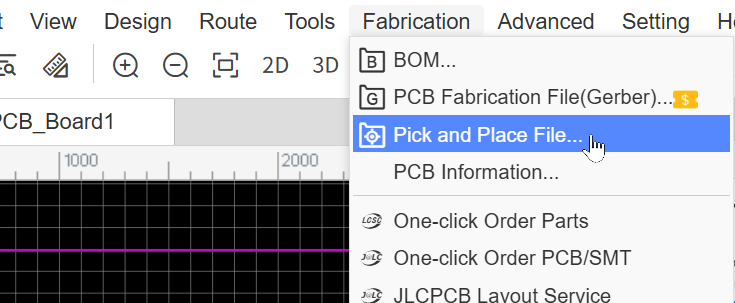
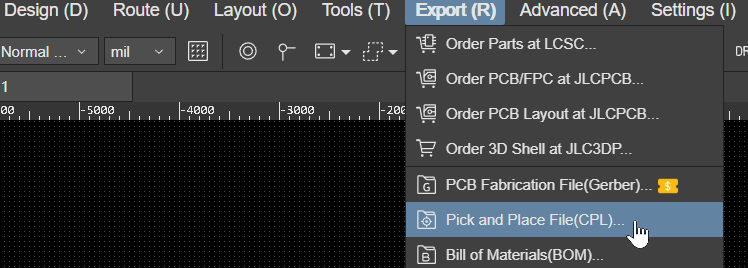
2. File → Export → Pick and Place File.
3. Set options + statistics (select export content, reorder in right-side table).
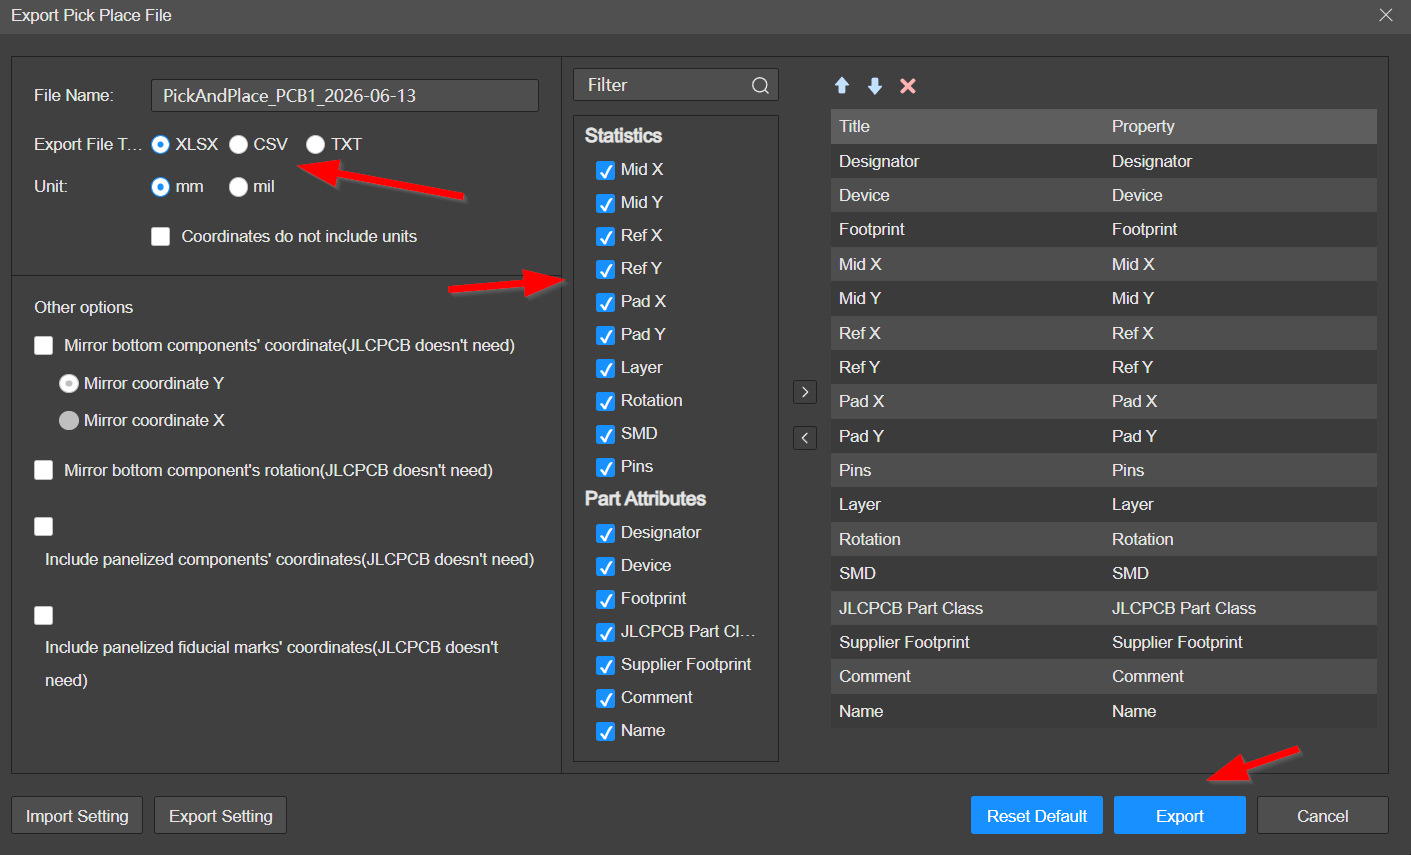
4. Export → opens as CSV.
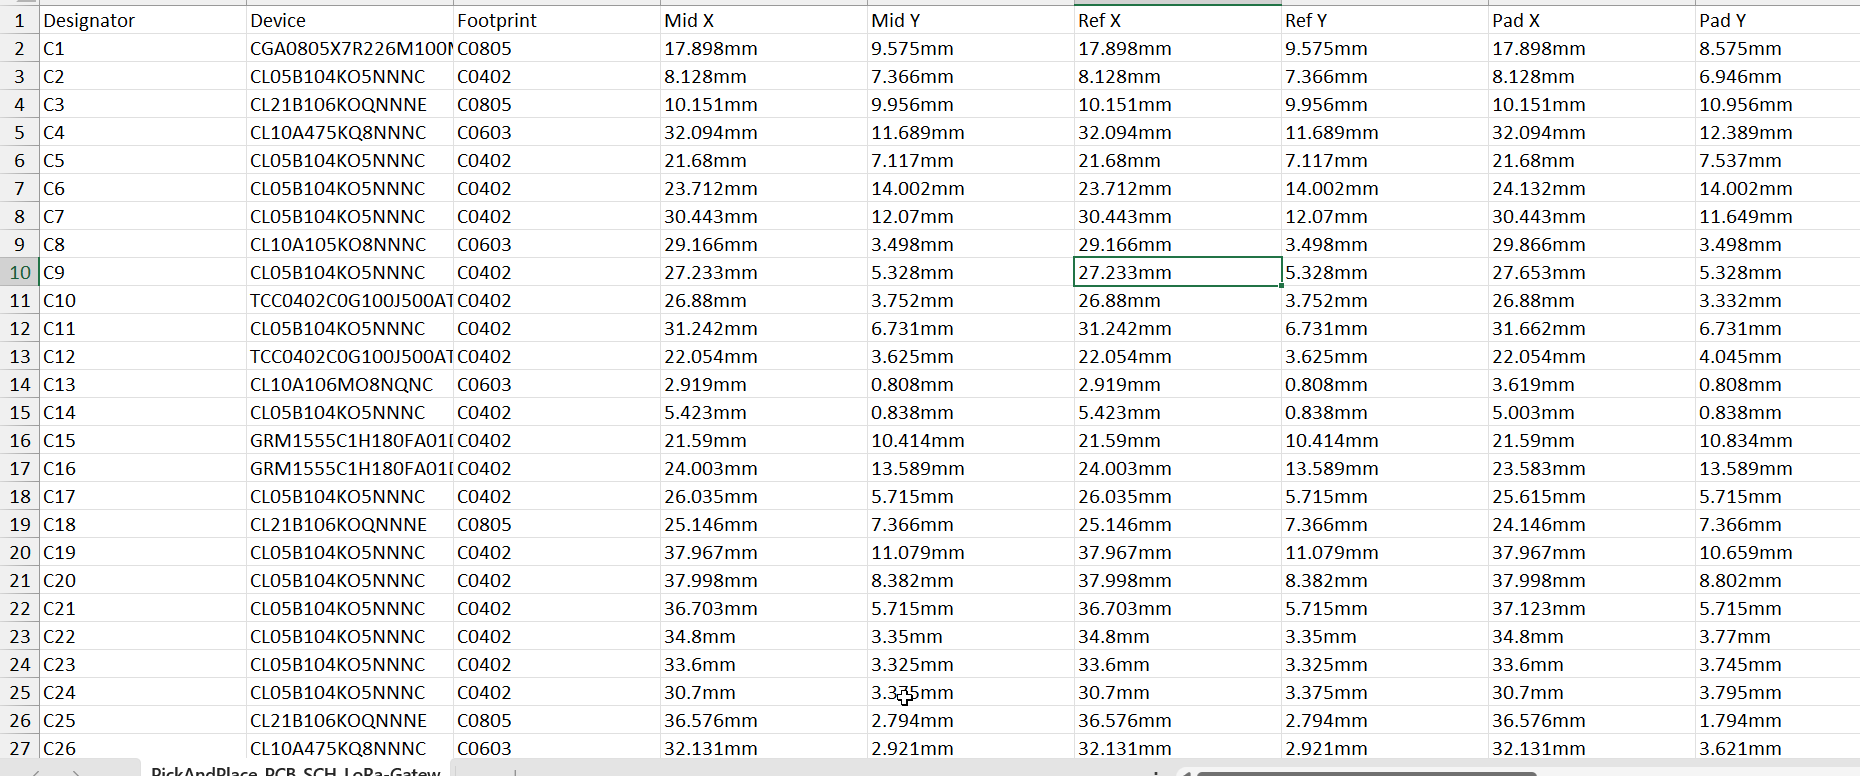
The Pick and Place file is generated now, as shown below.